Katana Slicer - Print Settings
Elephant Foot Compensation
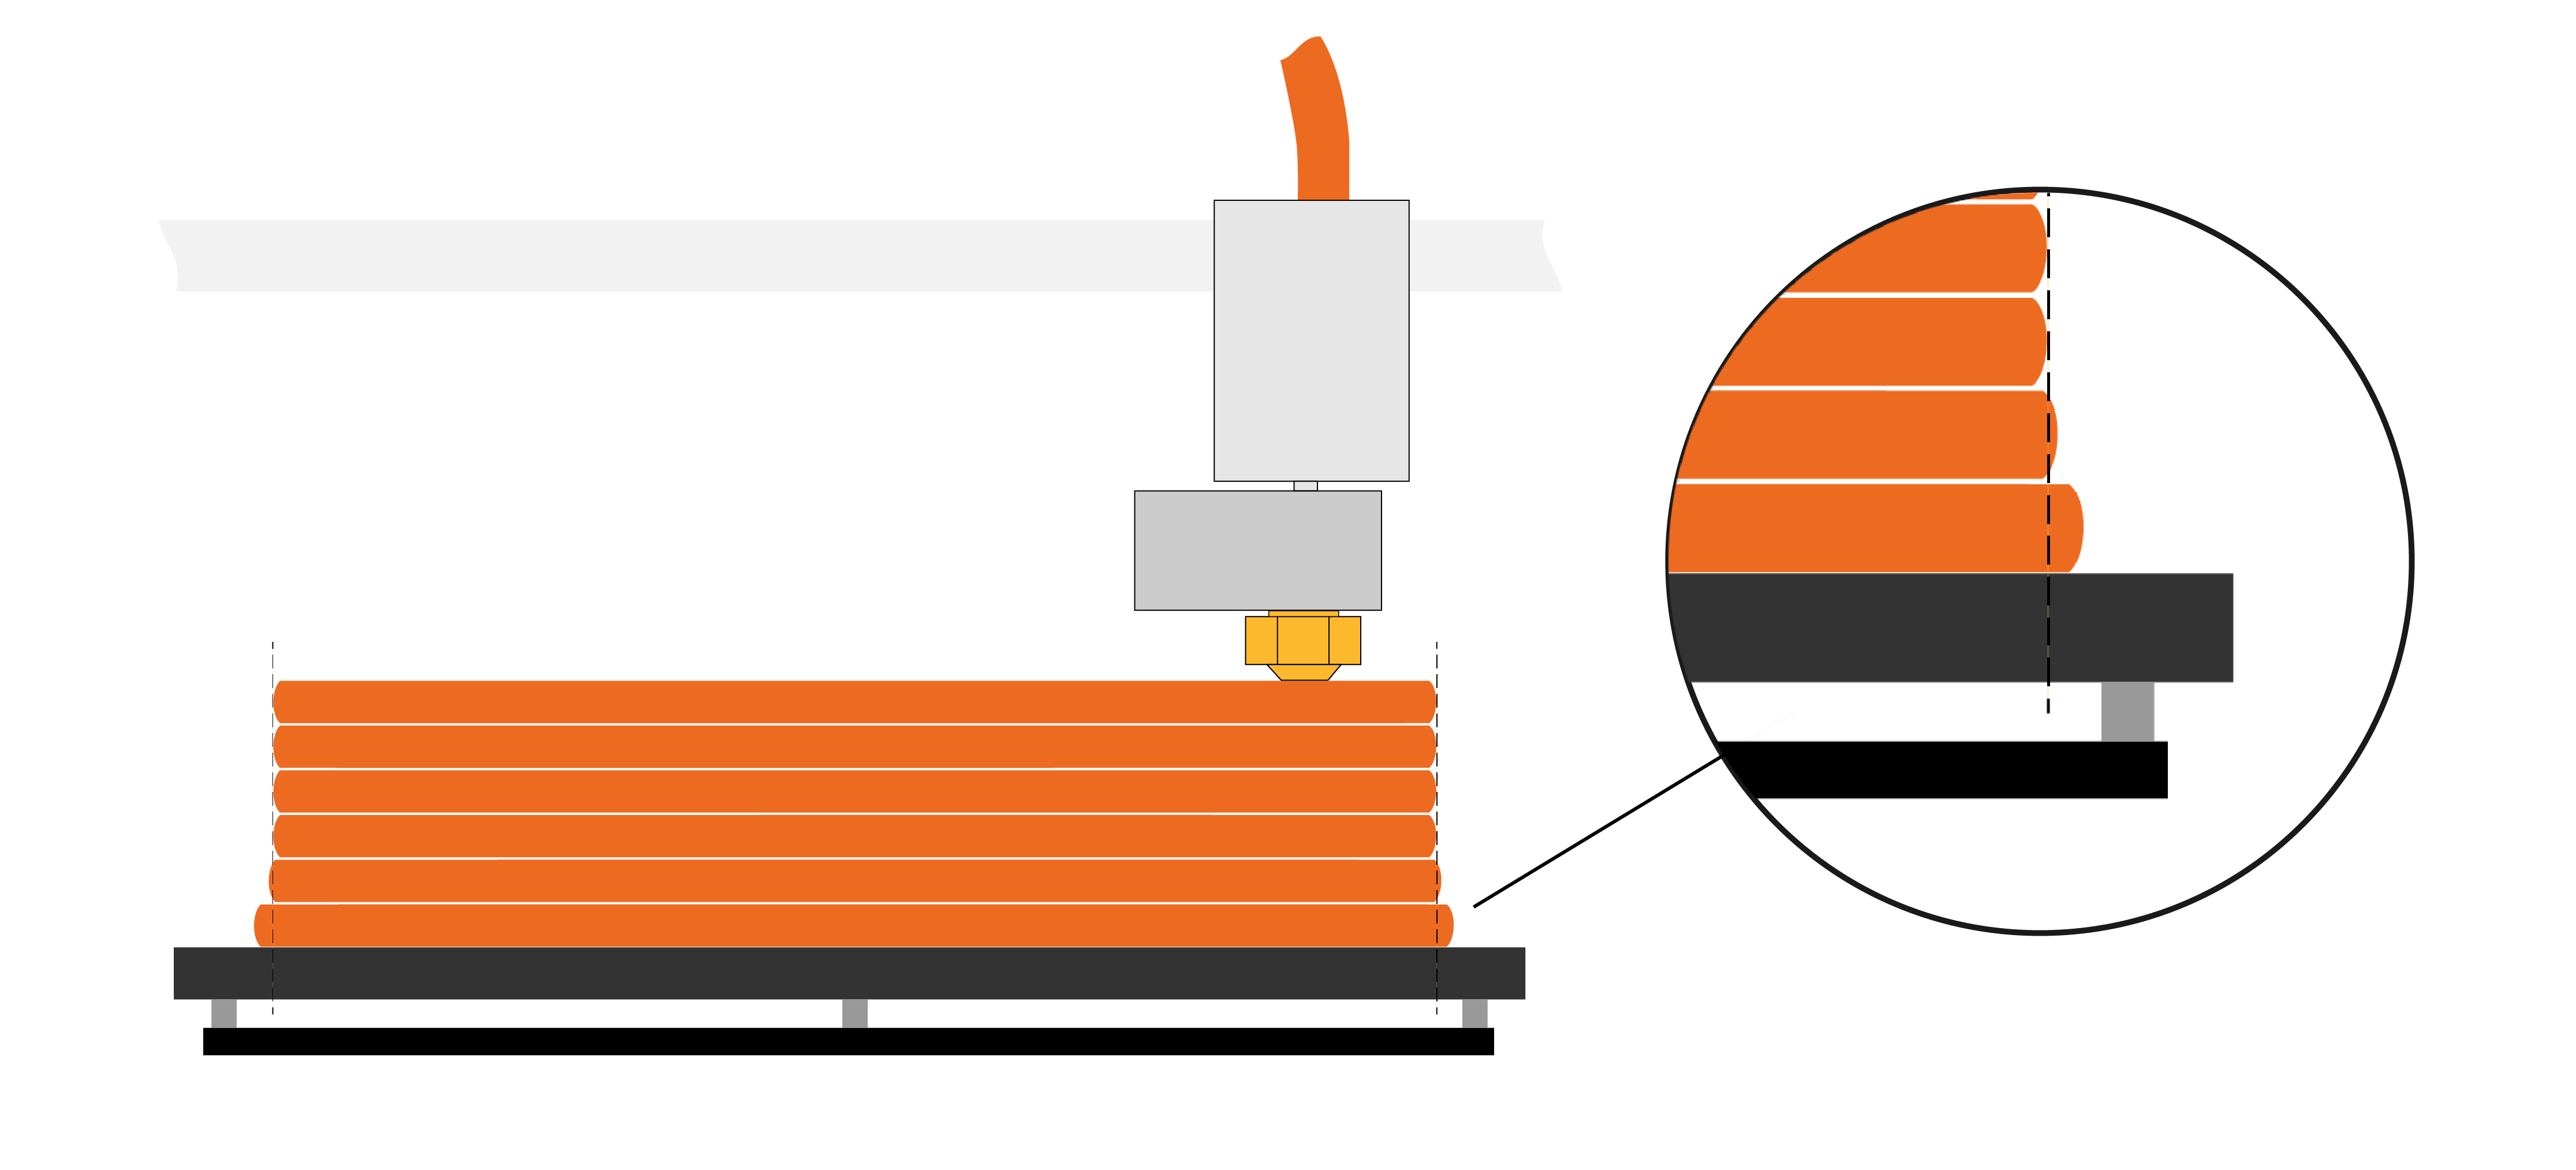
When printing the first layer is squished against the heated print bed and as a result, it’s usually a bit wider than it should be.
For many applications, this might not be an issue. But if you have something that really needs to have precise dimensions or fit together with very tight tolerances, it can be a problem.

Adaptive elephant foot compensation
Instead of having to sand this slight edge off, this setting will scale/shrink the first layer.
You’ll find it under Print settings – Advanced – Elephant foot compensation. To access this setting, Katana Slicer must be in Advanced or Expert mode.

Values around 0.2 mm usually work well for the default 0.4 mm nozzle.
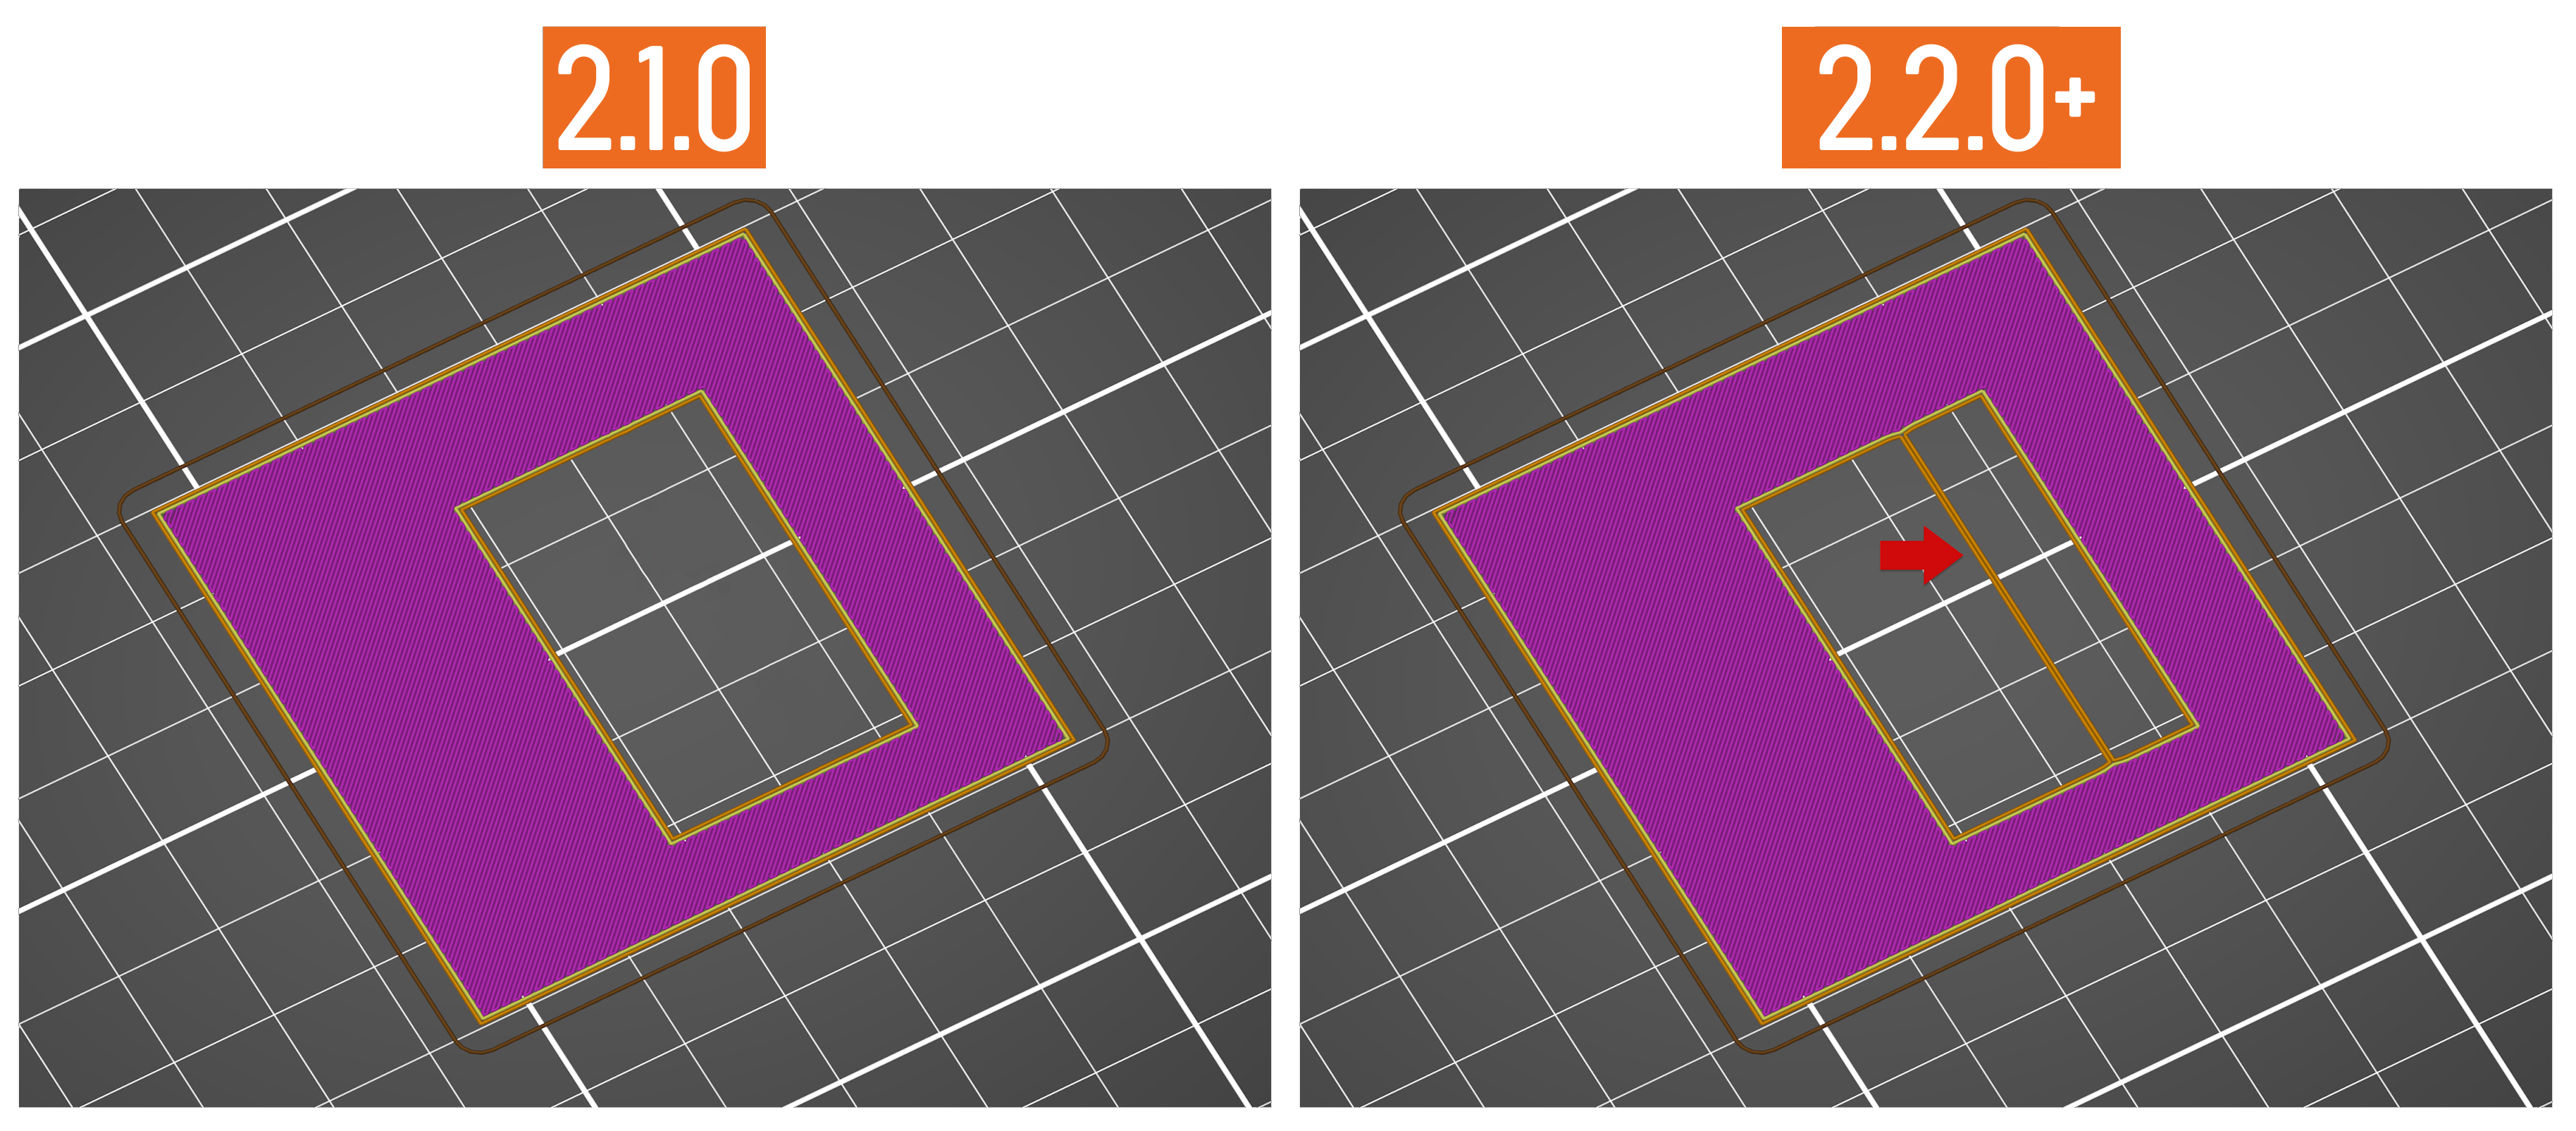
Katana Slicer automatically detects thin lines in the first layer and makes sure not to over shrink them. This detection is present in the Katana Slicer.
Official Katana profiles have this setting turned on by default.
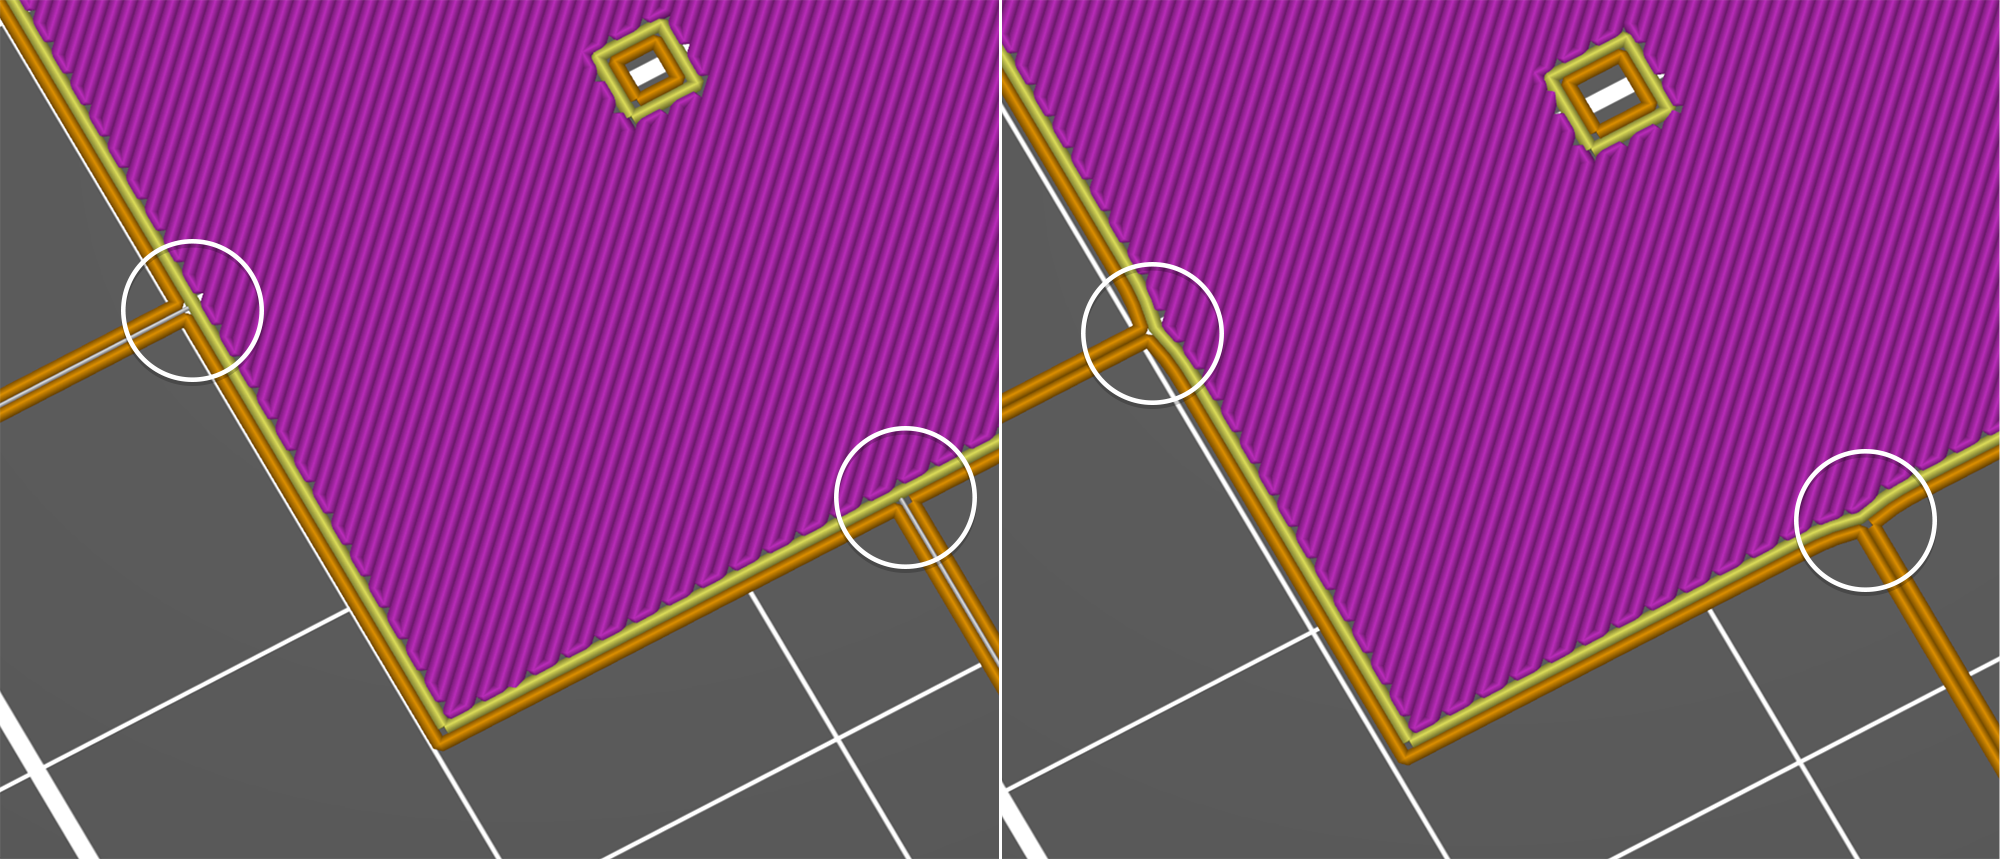
Brim doesn’t connect to the model with Elephant foot compensation turned on
This is on purpose. The elephant foot compensation compensates for the squish, which is not visualized in the preview. In reality, the gap will be filled in by the squished-out material. Though it is true, that the brim will have a weaker connection to the model with the elephant foot compensation turned on.
If the brim doesn’t connect to the part when printed, you likely have Elephant foot compensation set too high.
The first layer seems deformed in the preview
A side effect of the Adaptive elephant foot compensation is a possible distortion in spots where thin features connect to bigger parts of the model. This distortion is mainly pronounced in the preview (in reality, the squish of the first layer will fill more area than shown) and only affects the first layer. Still, if this is an issue for you, turn the Elephant compensation off (turn it to 0).

*Thank you to Prusa3D for providing the content used in this post.

